Showing posts with label Necklace. Show all posts

Monday, December 12, 2011

P.S. I made this... at C. Wonder!

Cute Instagram from the event that Erica posted on her twitter
 P.S. I made this... is one of my favorite DIY books, and websites.  I was fortunate enough to meet Erica Domesek, the creator behind this wonderful DIY brand, at a DIY event she hosted at a C. Wonder store!  Her work is a source of constant inspiration for my DIY projects.  It truly made my night to chat and craft with her!  We made fun gift tags and colorful coasters from her C.Wonder DIY kits!    Check out 'A DIY Obession' from last year to see some of my favorite projects from her book and site.

Wanted to share some highlights from the event and some of my favorite P.S. I made this... projects!  
Hope you get to DIY this holiday season, 
Margo Isadora


The DIY Set-up!  Prepped for coaster and gift tag crafting!

A coaster I made :)
P.S. these are some of the other coasters I made!

A great bike display in the C. Wonder store!

C. Wonder's Awesome Blue Ottoman in the Dressing Rooms...

These wonderful hats were just for display...
but they provided some excellent DIY inspiration!
Erica Domesek was lovely!
psimadethis.com

Some of my favorite projects from psimadethis.com

Love my fabric gemstone earrings , all pairs!  Great DIY!

I've been meaning to make some flower print cards!

Great fringe accessory for booties!

Simple, but super cute!

Love!

Erica and I

Sunday, August 7, 2011

Straws & Shoelaces!

Straw and Shoelace Statement Necklace!
DIY projects are always cool because they transform everyday objects into wearable works of art.  This straw and shoelace necklace project is not one to MIS, as it never ceases to make folks smile.  Below is my tutorial (DIY adapted from I Spy DIY).  Go pick up a pair of shoelaces and a bag of straws from the supermarket, or grab a handful of great colored straws at your local coffee shop.  Have fun creating these eye catching necklaces with friends!    

Enjoy, 
Margo Isadora 

Supplies:
Straws, Shoelaces & Scissors!

Cut straws to desired lengths
11 Pieces in Total
My longest is 1.75" and shortest is .75"


Straws Cut & Shoelaces Ready!

Thread both shoelaces into the longest straw...

Pull straw to center of laces

Continue to add on straws on each side
by threading the laces in opposite directions
.

Pull laces through, leaving a little more lace
at the 'bottom' of the necklace; for a flower effect.

Continue to string straws on...


My Great Aunt Sylvia
Looking Regal in Her Straw and Shoelace Necklace!


Thursday, July 14, 2011

Fringe Fun!

Mom Wearing Her Fashionable Fringe!
I believe that you can never go wrong with fringe.  It simply adds fun to any outfit and has never gone out of style.  This season fringe is everywhere; adorning everything from maxi skirts to bikinis.  I decided to add a little fringe to my summer wardrobe, by creating these fun fringe necklaces.  This is a easy DIY that everyone can do!  So dig into your tee shirt drawer and create your own fantastic fringe accessory. (See tutorial below.)  Please share your creations with me! 
Enjoy, 
Margo Isadora

-All you need is an old soft cotton t-shirt and a pair of scissors.  
-Cut the front of your tee away from the back. 
-Then snip one inch into your tee, a 1-2 inch thick piece, horizontally across the tee.  Then rip the rest of the strip and it will magically curl in to itself. Continue to tear your shirt into strands.  
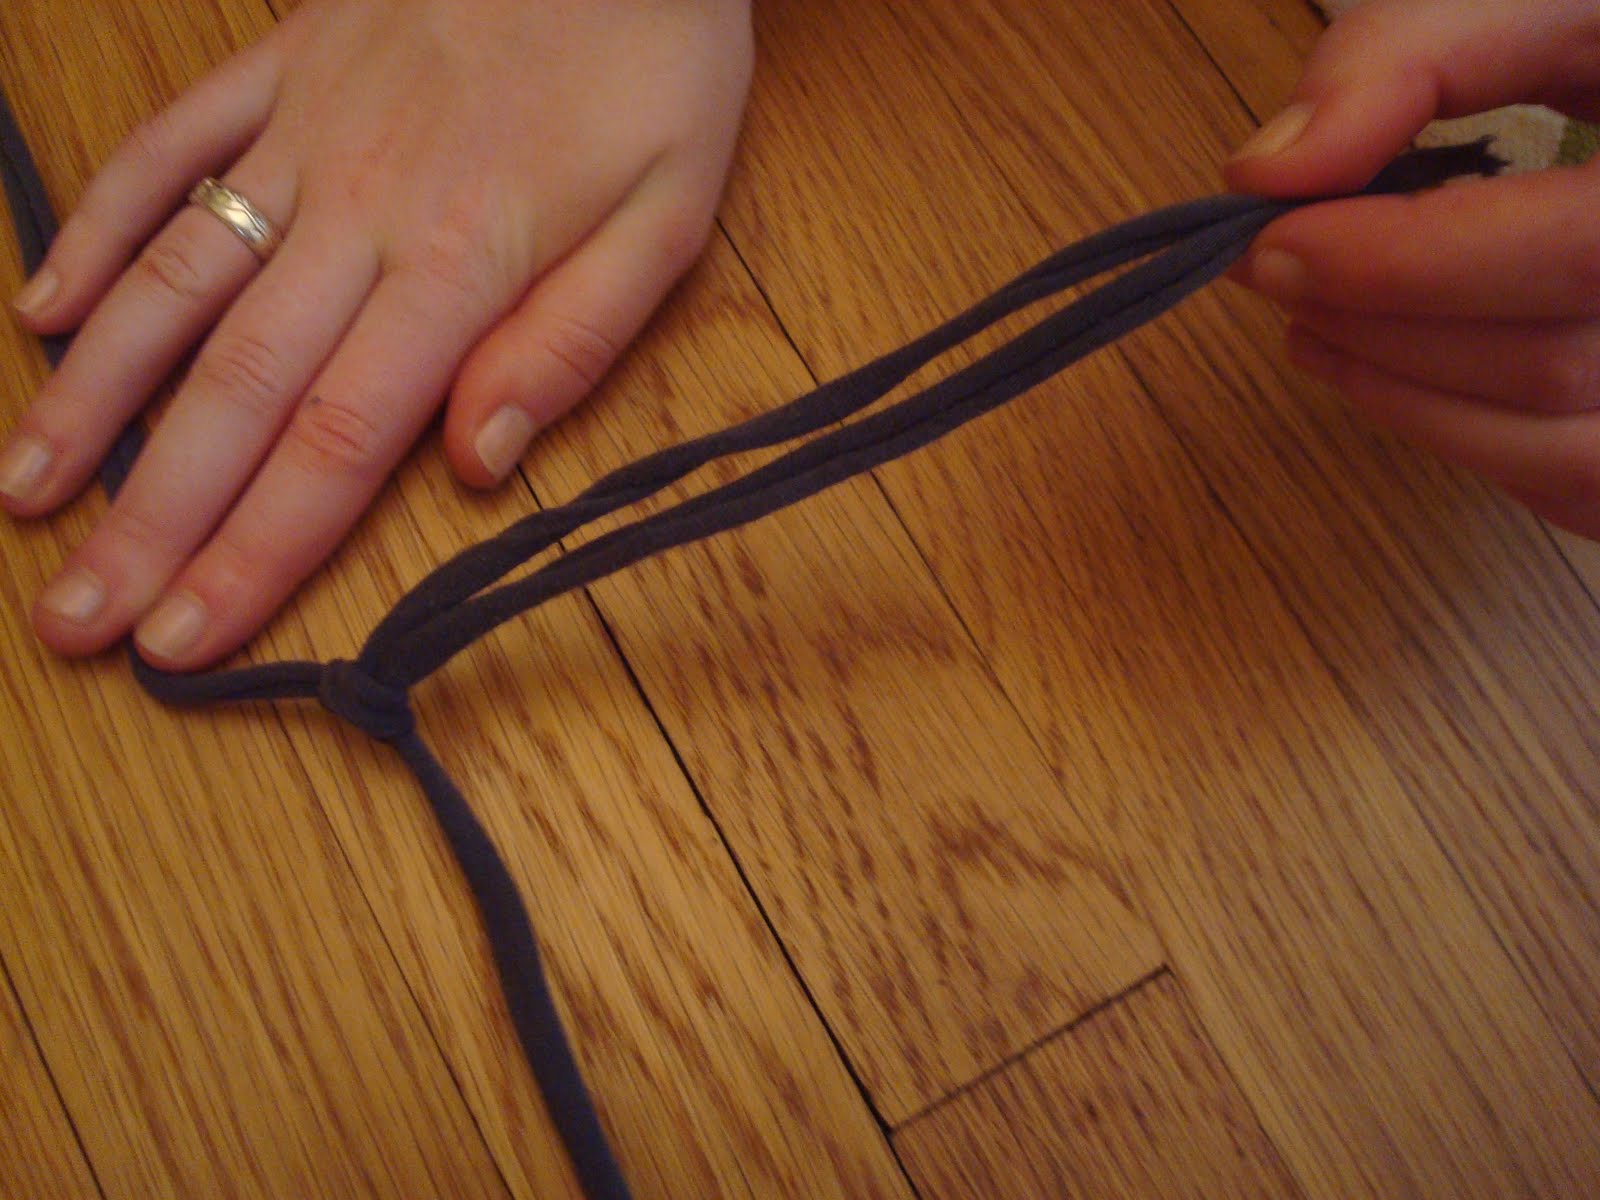
-When you have finished choose the longest one for the base string (to hang around your neck), and then begin to fold the other strands in half and tie on (as shown below)!  
-Tie on as mush fringe as you like.  
-Then secure the necklace around your neck and trim the ends to create a V shape.  

1 Old Soft Cotton T-shirt and Scissors!
Snip and tear your t-shirt into long strands!
Finished Fringe!
See below for detailed instructions.

Tear!  Don't be afraid to rip it,
cotton tears easily along the grain.
And it does not have to be prefect.
Fold string in half
and lay on top of your base string.
Loop through behind your base string.
Pull tight!
Continue tying fringe on as desired. To finish tie it around your neck and trim the ends into a neat V, or any other shape that you like!
Fabulous Finished Fringe Necklaces!